For artists and collectors sponsored by Intercal...your mohair supplier and Johnna's Mohair Store
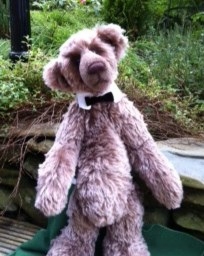
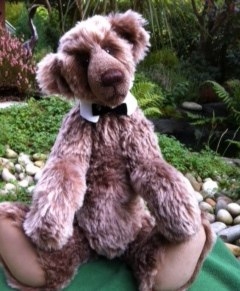
Really good first bear,love the curls  that must have been tricky to sew.
I usually handsew bears between 20cm/10ins to 30cms/12ins and take around 40 hours to complete but machine stitching all or part of the bear would save some time.
I've only made a dozen or so teddy bears and have found the advice and tips shared by experienced bearmakers on this brilliant site helps me to improve my techniques.I find being accurate in cutting and sewing lines gives a better looking finish and I discipline myself not to take shortcuts.
Of course nothing beats practice,practice,practice to get better results and you've already made a great start.
Well done  .
.
Aaaaww..... She does look delicate and a little vulnerable.She is beautiful and sure to find a loving owner. 
 Thanks so much Monique.
This little panda taught me the open mouth and pulled toes techniques.The pattern is designed by the great bear artist Linda Benson.I find Linda's patterns are really well written and easy to follow for an inexperienced bearmaker like me and she was very supportive and helpful with any queries I had.
Thank you Debora and Monique for your lovely comments,it's encouraging to get positive feedback.
I agree Monique, teddy bears often demand how they want to look despite our best efforts,mine often change gender like magic  !
!
Thank you very much,Becky,you've made me feel better about how he looks.
He is fabulous, not surprised he didn't get staying with you for long.Expression is fantastic ! Congratulations on those wonderful eyes.
Very cute little bears,got that 'can I be yours?' look about them :))
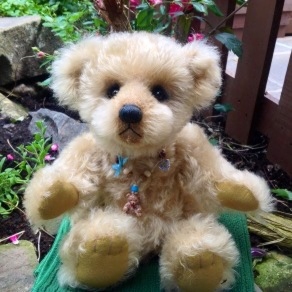
This is the biggest bear I've made so far, he stands at 59cms/22ins.The designer of the pattern is Marlene de Lorenzo.
I couldn't believe how greedy he was in eating sooooooo .... much stuffing bear  .
.
Every bear I make teaches me another lesson and this one was not to trim the mohair on the face so short next time if I want a pear- drop shaped muzzle bear  .
.


Thanks Becky,that's a great tip.
I really appreciate experienced bear artists as you & SueAnn sharing their "lessons learnt" in bearmaking.
Thanks SueAnn,that's interesting. I guess that method would help to get a good shoulder shape in proportion to the body.
I'm going to give it a try  .
.
I wonder what is the best way to stuff teddy's arms and legs ,either before or after jointing them to the body?
I presently stuff the limbs then attach them to the body but I've noticed in photos on experienced bear artists blogs a teddy's head attached to an empty body with empty limbs.,does it make a difference?
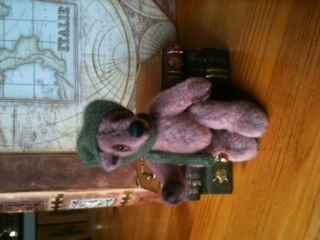
Hi Gingerbear, just noticed your query is unanswered so I'll tell you what I think, although I have only made one mini because my hands are a bit arthritic now and I find turning the tiny limbs very fiddley. This is my results for a Monica Spicer pattern which is 9.5 cms.
If you haven't done so already, there is a wealth of tips and info which you could access in the Library here.
I took an online course with Megan Wallace at Tinsoldiers which was very useful, here's a link to her free tutorial on miniature bears http://www.tinsoldiers.co.za/Workshops/ … ect52.html
Megan is very generous & helpful and I'm sure she'll be happy to answer any mini bear making query you want to email her.
I usually prevent fraying with a diluted PVA glue on the edges only however if your fabric is still flexible with the Sassy's product it should be fine.I don't think you need to trim seam allowances if the fabric is very sparce mohair as it should make good contact with fabric backing between pattern pieces and any occasional fibres caught in the seams could be brushed out after sewing.
I have learnt that stitching,particularly in minis needs to be small and accurate so I always mark the sewing line with a metallic gel pen to help achieve good curves and I sew twice with double thread to give strength to the seams. I pull the thread tight and feel the stitch tension between my fingers so that the stitches are flat and not puckering the fabric.
I hope this limited knowledge is of some help to you however other and more experienced mini bear makers may contradict my response and could give you more informed advice.
Good luck and don't forget to post a photo of your little creation when complete, we all enjoy seeing everyone's efforts.
 My one and only mini- sorry,don't know why photo is presented sideways?
Thanks Leikela for your kind compliments.
Now you've caught the bug there "ain't no stopping you now" -you're in the groove 
Such a beautiful bunny Leikela,really good first results  .
.
I learnt to use oil chalks for shading from the great bear artist,Linda Benson.I find them easier to control than other mediums.If you over do it you can easily remove excess colour with a baby wipe.
Linda taught me to cut bristles short on a flat, hard bristle brush,one small and one a little bigger and pick up a very small amount of colour on small brush and rub the colour well in to the fabric with the clean bigger brush. If you use paler shades first and build the depth of colour gradually it works better.I avoid any shades that have a reddish content as this can make it look like conjunctivitis  .
.
My most used shades are Burnt Umber,Sepia and Brown light- here's a link to a colour chart - http://www.sennelier-colors.com/article … astels.pdf
Here's an example of my efforts on a mohair teddy
I'm not experienced but hope this helps and keep posting photos, we all enjoy seeing cuddly creations.
 Shaded Eyes
Student Bearmaker, the moist noses are done with some gloss inside the nostrils.
Thanks Joanne,sounds so simple yet it's so effective.
Renee
I haven't tried a realistic bear yet but have always admired your fabulous bears Joanne,they are so detailed and individual.
If only I was lucky enough to be able to attend your presentation, eyes would be top of my list and then how you create those fabulous noses with realistic moist nostrils, you can imagine them sniffing the air. I would also love to know how you make the lifelike pawpads.
Hope you have a great day as I know all your attendees certainly will.
Two fabulous bears, illustrating great talent in bear making  .
.
Very cute,she's gorgeous  .
.
Fabulous bear. I always admire your work,such gorgeous creations and you have a real talent for storytelling. 


Well done,you did so well for your first show.The display looks great and the vintage theme is really lovely.Beautiful fabrics and very cute bears,not surprised you found new homes for so many  .
.
Brilliant instruction and such clear diagrams. Thank you Olga for sharing your expertise  .
.
Something I didn't grasp when I first started bearmaking was the important role of stuffing in achieving the shape you wanted. After I took an on-line course I learnt to stuff as if my eyes were closed and so moulded the head on the outside feeling the shape with my hands whilst making sure every nook and cranny was stuffed firmly. Look forward to seeing your little Teddybear.
Great first bear  .He has such a cute, friendly expression.
Very creative,another great Teddybear and I love those eyes  .
.
Gorgeous little bear 
So creative to make use of items that others discard.
Your little green Betsy is a truly green bear 
