For artists and collectors sponsored by Intercal...your mohair supplier and Johnna's Mohair Store

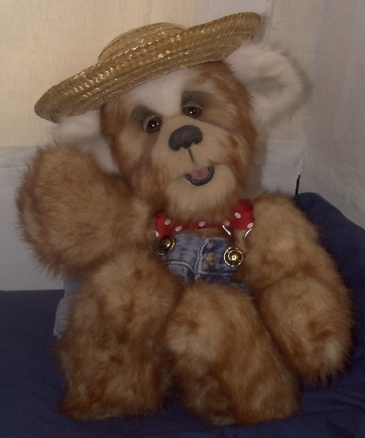
 I took these pictures with the light box I made. I need a new camera, so they are not perfect yet! The bear is not finish yet,,,,,he needs his paws done, but he just happened to be the subject of the experiment.
Home Made Light Box…..
Hi everyone. I just had to share this with you all.
I have looked at different light boxes on eBay to see if it was different than ones I have made in the past. They are great boxes. But, I really could not see how my home made ones wouldn’t work just as good.
So, I thought some of you might find this handy.
I took one of my white shipping boxes and cut out windows – with about a 2” boarder, on all four sides. I then cut out white very lightweight fabric and glued it on the inside of the windows. Or! You can also line the whole inside of the box. This is nice for a clean seamless look.
Note: not all boxes have white on the inside of them so you will have to turn it inside out. The fabric should be on the brown side and facing out. You can do this by just cutting down one of the seams. Then just open it and flip it inside out. Once that is all done. Tape the flaps together to secure the box, this will make it tall and give you more room.
I then I made a top out of the white fabric to finish it off. The seam area you cut will be the door. When you put the top fabric on, be careful not to glue it closed. 
You want it to flow when you open the light box. I shaped mine to the door then just glued tacked along the top and the corner.
Then all you do is put your lights around to get the best lighting – windows – door. And you got a light box!
I hope this is helpful for anyone who doesn’t have a light box yet! Or like me…is not going to but one. Now, I need to go get a new camera. So, I will be ready to take really great bear pictures! 
Happy Light Box building!
Big Hugs
Kassity